Molly, Charlotte and I took it in turns between us to assemble to bag with Molly doing the zips as she was the most confident to do them and had the most previous experience of doing zips out of the three of us. We started off cutting out our pattern pieces between Molly, Charlotte, Aanya and I. Once we had cut the pattern pieces out we sandwiched them in-between clear pvc and ironed them together.

Once ironed together we started to assemble the pieces together. We started off by putting the main zip into the side of the bag and then attaching the side pieces onto the from triangle. We then added a zip around the bottom to attach the bum bag to the main bag and started assembling the bum bag together.
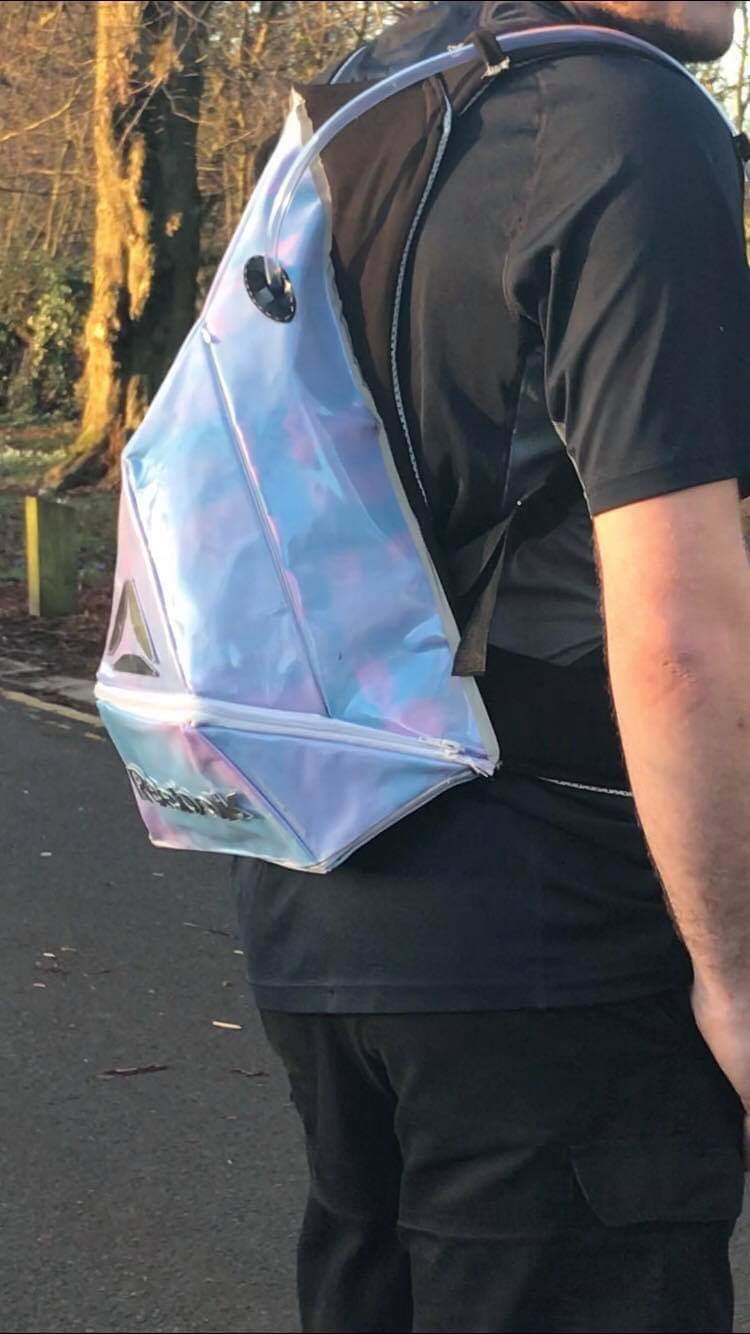
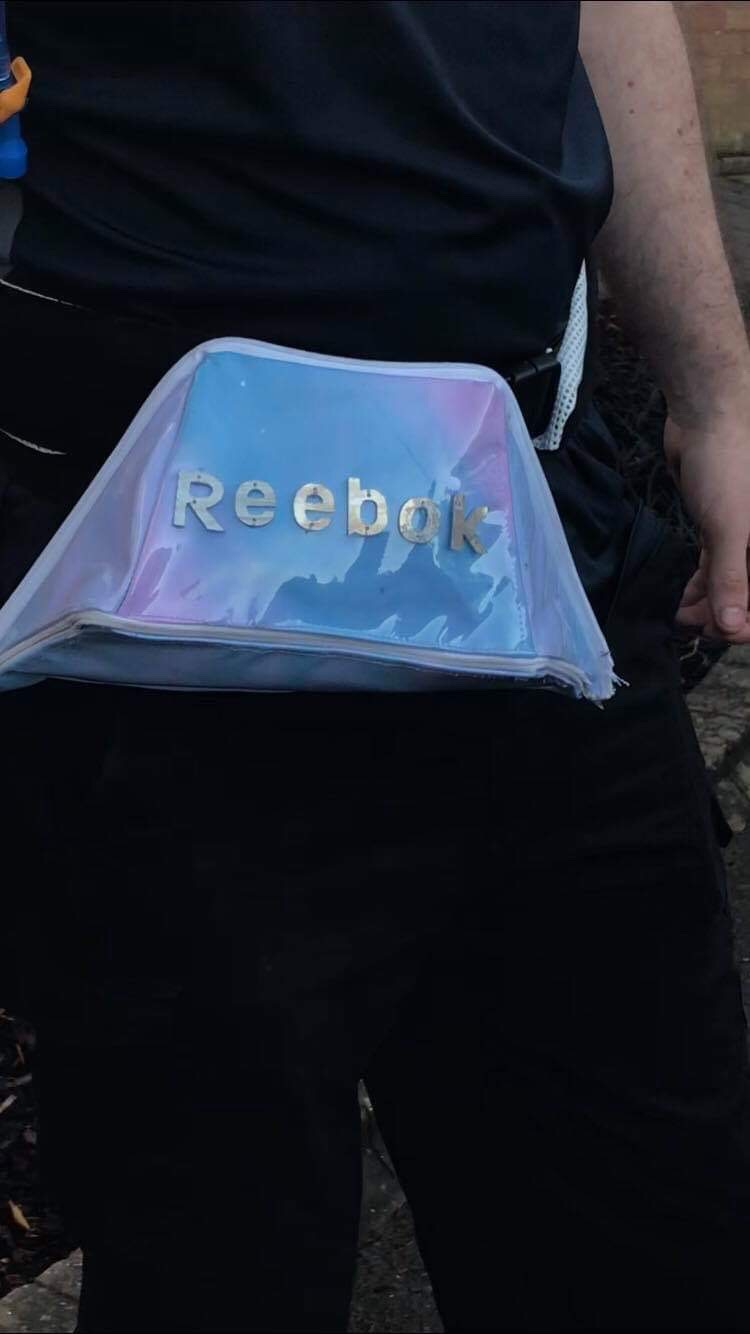
Overall I am pleased with the way that our bag turned out although there are things that I would change if we were to make the bag again. This would involve moving the zip on the bum bag because it needed up on the bottom of the bag.
